
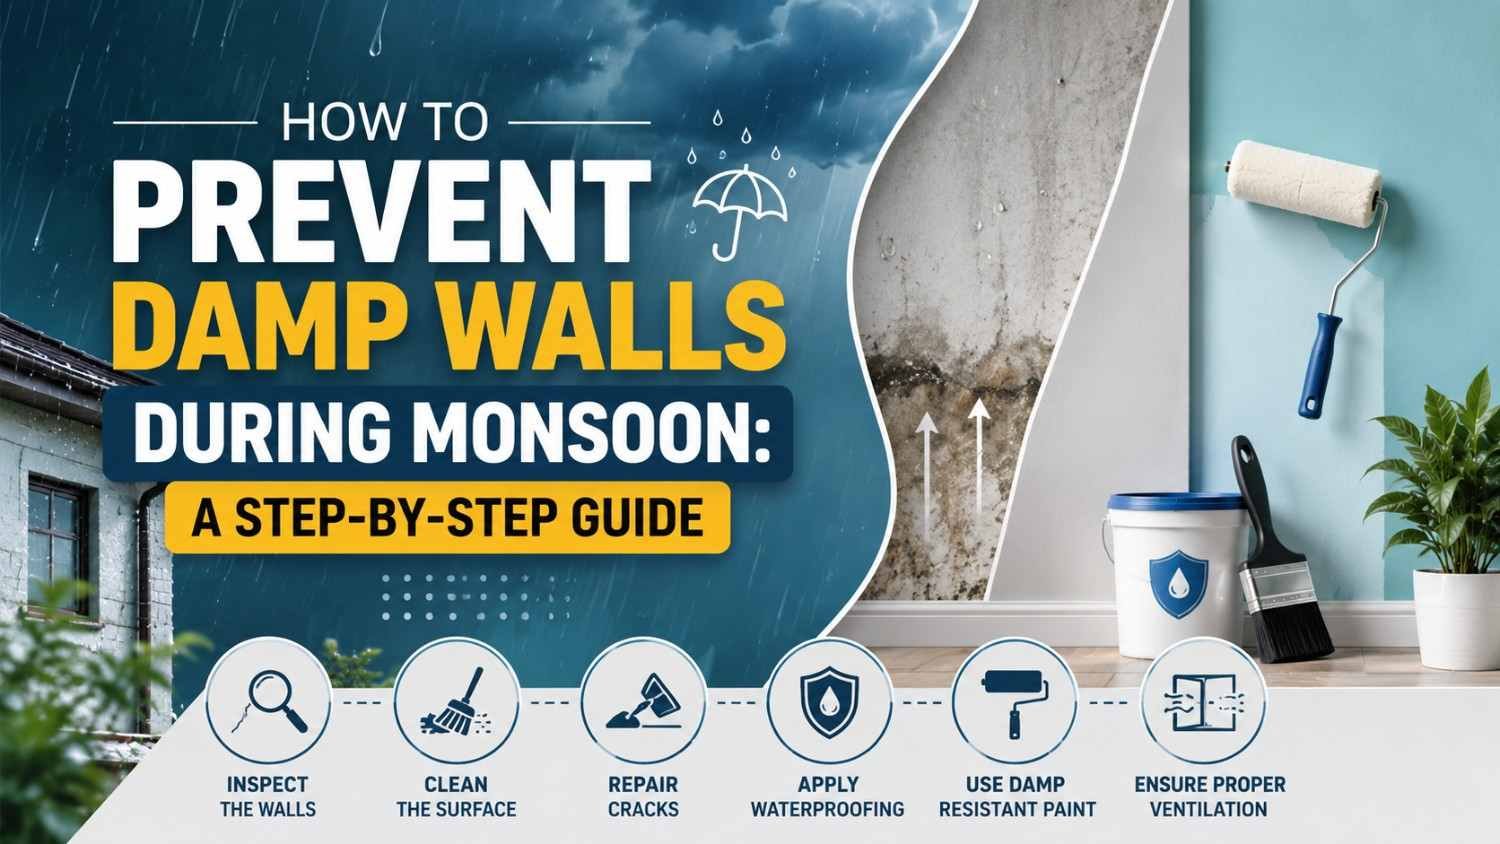
Monsoon weather can bring much-needed relief from the heat, but it can also set off serious moisture problems inside homes. Long spells of rain , high humidity, leaking roofs, blocked drains, weak ventilation, and water slipping in through exterior walls can leave walls and floors kind of damp for days. At first it might look like only a tiny wet patch , then it can slowly turn into peeling paint, mold growth, those unpleasant musty odors, bubbling plaster, visible stains, and even furniture that gets ruined. And if moisture keeps getting into the wall , then just repainting the “affected spot” rarely fixes the real reason.
So preventing damp walls is more than slapping on a waterproof coating after the damage shows up. The actual answer is to figure out where the water is coming from, stop it at the source, improve airflow, keep drainage working properly, and shield the most vulnerable surfaces before the rainy season ramps up. This guide walks you through how to prevent damp walls during the monsoon, step by step, what homeowners should pay closest attention to, the common mistakes to avoid, and when it might be time for professional waterproofing, or at least a careful inspection.
Why Do Walls Become Damp During Monsoon?
Before treating the dampness, it is pretty important to figure out where the moisture is actually coming from. Rainwater can worm its way in through cracks in exterior walls , damaged roof surfaces, poorly sealed windows, balconies , plumbing leaks , or even drainage that just does not do its job. In some homes, damp can also rise from the ground up through the walls, usually because damp proofing is inadequate. Then high humidity shows up and makes it worse, because walls and interior surfaces dry at a slower pace. If the moisture stays stuck in there for long periods, the paint might start to bubble up, or it can peel off , and mold is able to develop too.
Common Sources of Wall Dampness
- Roof and terrace leakage
- Cracks in exterior walls
- Damaged waterproofing
- Poor window sealing
- Blocked rainwater pipes
- Plumbing leaks
- Water accumulation near foundations
- Poor bathroom waterproofing
- Condensation caused by inadequate ventilation
Finding the source is the first step toward effective Prevent Wall Dampness strategies.
Step 1: Inspect Your Home Before Monsoon
The best time to handle dampness is before heavy rain really gets going. Try walking around the outside of your home, and inspect the walls, balconies, terraces , window frames, the edges of the roof, and those drainage points too. You’re looking for cracks, weakened sealant, peeling exterior paint, water marks, or spots where rainwater seems to linger. Then go inside and check corners, ceilings, areas tucked behind furniture, and any walls that are near bathrooms or kitchens.
Look For:
- Dark patches.
- Hairline or larger cracks.
- Peeling paint.
- Bubbling surfaces.
- Musty smells.
- Mold spots.
- Water stains.
- Soft or deteriorating plaster.
Early inspection can prevent a minor moisture problem from becoming a major repair project.
Step 2: Check the Roof and Terrace
Before monsoon, the roof is usually one of the more important things to inspect, like literally. Even small cracks or if the waterproofing layer gets damaged, it can let rainwater in, so it’s not just cosmetic. After that the water may travel through slabs and then you notice it as stains on ceilings , or sometimes on upper-floor walls. Also take a look if the terrace has proper drainage , and make sure water doesn’t just remain standing after the rain.
Before Monsoon:
- Clear debris from roof drains.
- Inspect waterproofing.
- Repair visible cracks.
- Check parapet joints.
- Inspect pipe penetrations.
- Remove standing water.
- Repair damaged surface coatings.
If water repeatedly accumulates on the terrace, correcting the drainage problem is often more important than simply adding another coat of waterproofing.
Step 3: Clean Rainwater Gutters and Drains
When drainage systems get blocked, rainwater might start overflowing and then push up against the walls , not sure exactly where it goes. Stuff like leaves, dirt, plastic bits, mud, and other debris can block the way so water cannot move away from the building. When water sits against exterior surfaces for long stretches, it can increase the chance of seepage over time. So, clean gutters, rainwater pipes, balcony drains and other outlets ahead of heavy rainfall , to make it happen before the storm.
A Simple Maintenance Routine:
- Inspect drains before monsoon.
- Remove visible debris.
- Flush pipes where appropriate.
- Check for blockages.
- Make sure outlets discharge water away from walls.
- Recheck drainage after heavy storms.
Good drainage is one of the simplest forms of Monsoon Home Maintenance.
Step 4: Repair Exterior Wall Cracks
Even small cracks can turn into sort of pathways for rain water. Outside cracks may show up because the building shifts, weather exposure, aging surface finishes, thermal expansion, or even poor prior repairs. If you ignore them they can let moisture get further into the wall, and then it starts spreading. The right repair way depends on how big the crack is, where it sits, and what actually caused it in the first place.
Pay Particular Attention To:
- Cracks around windows.
- Wall-to-slab junctions.
- Balcony edges.
- Parapet walls.
- Exterior corners.
- Pipe openings.
Don’t just pretend everything is fine by painting over big cracks. If a crack is large, is growing, keeps coming back, or goes with other structural symptoms then its best to have it checked by a qualified professional who can properly assess it.
Step 5: Look closely at the window and door seals
Windows and outside doors are basically usual ways for rainwater to get in. When the silicone sealant is damaged , the rubber gaskets are worn out , frames are not well fitted, or there are little gaps around the openings , water can still enter when it’s windy and raining hard. Inspect the edges of every exterior opening before the monsoon season, not after. Replace sealant that has deteriorated and repair any gaps that you notice. Even a small bit of upkeep around windows helps stop moisture from moving into the interior plaster and paint.
Step 6: Improve Exterior Wall Protection
Outside walls usually take the first beating from rain and humidity. A right coating for the exterior can give an extra layer of defense, especially when the wall underneath is solid and it’s been properly prepped. That said, you shouldn’t use exterior paint like a stand in for fixing cracks, leaks, or drainage troubles.
A Proper Exterior Protection Process Includes:
- Cleaning the wall.
- Repairing cracks.
- Removing loose material.
- Preparing the surface.
- Applying the appropriate primer or treatment.
- Using a suitable exterior coating.
- Allowing adequate curing and drying time.
Good Wall Waterproofing begins with surface preparation rather than simply applying more paint.
Step 7: Check Plumbing for Hidden Leaks
Not every damp wall comes from rain. Sometimes a leaking water supply pipe, a bathroom fitting, a drainage line, or some concealed plumbing connection can create dampness even when it’s not raining at all. If one spot stays damp no matter the weather, it’s a good idea to investigate the plumbing as a likely reason.
Signs of a Plumbing-Related Problem
- Dampness concentrated around pipes.
- Water stains without recent rain.
- Persistent moisture.
- Unusual plumbing sounds.
- Sudden changes in water bills.
- Dampness on a wall shared with a bathroom or kitchen.
Identifying the source correctly prevents unnecessary exterior waterproofing work.
Step 8: Waterproof Bathrooms and Wet Areas
Bathrooms, kitchens, balconies , utility spaces and other wet places they basically need extra care. Water has a way of getting in through floors that aren’t well sealed, also at wall junctions , around pipe penetrations, and even where grout is worn or damaged. After some time, that moisture can wander into the neighboring walls, kind of slowly. Before the monsoon season, it’s smart to look over wet areas for cracked grout, damaged sealant , loose tiles, and those damp patches that just don’t go away. Waterproofing should be brought in as part of the building or renovation process, not handled like a cosmetic surface fix, you know what I mean.
Step 9: Improve Indoor Ventilation
During rainy weather, windows often remain closed for longer stretches, which raises indoor humidity. If the ventilation is weak , evaporation becomes slower and condensation can build up, plus mold growth is more likely especially in bathrooms, kitchens, wardrobes and any room with limited airflow. When the outside conditions are better, ventilate the home more often.
Improve Air Movement By:
- Opening suitable windows when weather permits.
- Using exhaust fans.
- Keeping bathroom ventilation active.
- Avoiding unnecessary obstruction of air vents.
- Allowing damp areas to dry.
- Using a dehumidifier where appropriate.
Ventilation doesn’t stop exterior water leakage, but it can significantly help manage indoor moisture.
Step 10: Keep Furniture Away From Damp Walls
Big wardrobes, cozy sofas, beds, and cabinets shoved right up against the walls can kinda block the airflow. When that wall area is already prone to moisture, the lack of movement in the air makes drying slower, and then mold can slowly set up behind all that furniture. If it is possible, leave a slight little gap between the bigger pieces and exterior walls. This is especially helpful for wardrobes, storage units, and similar furniture that sit against sections of wall hit by heavy rain.
Step 11: Keep Indoor Humidity in Check
Humidity tends to be higher during monsoon seasons, but too much indoor moisture can really amplify wall issues. Things like cooking, showering, drying clothes indoors, and plain old poor ventilation can raise moisture levels fast. Try using exhaust fans while cooking and during bathing, and don’t dry large loads of wet clothes in rooms that don’t breathe well. If the humidity stays high for a long time, a proper dehumidifier can offer extra help.
Step 12: Shield the More Vulnerable Interior Walls
Not every interior wall takes moisture the same way. The walls that are directly linked to bathrooms, kitchens, balconies, outside-facing surfaces, or those awkward, stuffy corners with weak ventilation should be checked more often. If you spot early indicators such as discoloration or paint that starts to peel , pause and figure out what’s causing it before putting on any fresh finish.
Early Warning Signs Include:
- Paint bubbling.
- Flaking paint.
- Dark patches.
- Powdery deposits.
- Musty odors.
- Mold growth.
- Soft plaster.
Treating the source early is generally easier than repairing extensive damage later.
Step 13: Don’t Paint Over Damp Walls
One of the most common mistakes homeowners make is repainting a damp wall right away, like without thinking much. Sure, fresh paint might temporarily mask the marks, but if the dampness keeps coming into the wall moisture wise, the new finish can bubble, peel, discolor, or even start showing mold. The proper thing is to figure out where the moisture is coming from, stop that issue first, let the wall fully dry, then do the needed repairs to the damaged surfaces, and only after that repaint using the right coating system.
The Basic Sequence Should Be:
Identify → Repair → Dry → Prepare → Prime → Paint
Following this order produces a more durable result than simply covering visible damage.
Step 14: Manage Plants and Water Around Exterior Walls
Gardens, planters, and irrigation systems that sit right beside walls can, sometimes, cause moisture trouble. Like, if you water too much the ground can stay wet and then it just hangs around near the building. Also, planters that are not placed very well may let water linger against exterior surfaces. So make sure the irrigation is controlled , and also that water drains away from the building. When landscaping meets walls, keeping proper runoff and drainage is one of those small details that helps protect the structure overall.
Step 15: Check Ground-Level Dampness
If you notice dampness mostly near the bottom part of walls, it may be a different issue than rainwater coming in from above. Sometimes ground moisture can travel upward through masonry, especially when damp-proofing or drainage is lacking. This kind of situation can be more complicated than simple surface seepage. If the dampness keeps showing up from the floor level and moving upward, getting a professional assessment is the smarter move before you pick a treatment.
Step 16: Maintain Balconies Properly
Balconies take a lot of rain, so they become problem zones if drainage or waterproofing does not hold up. Check the balcony floor slope, drainage outlets , the tile joints, parapet junctions, and pipe connections. Water should go toward the drain, rather than pooling near doors or along walls. During the rainy season, keep balcony drains clear of leaves, dirt, and random debris so they do not clog.
Step 17: Use Waterproofing as a System, Not a Single Product
Some homeowners look for one waterproofing product that fixes every dampness issue. But actually, good waterproofing is usually a mix of things, not just one bottle or membrane. It typically means drainage improvements, crack repair, careful surface preparation , correct detailing, the right materials, and professional installation when needed. A waterproof coating cannot really “undo” a leaking pipe, or a drain that’s blocked and staying that way . The best Home Waterproofing Solutions address the source of moisture first.
Common Mistakes to Avoid During Monsoon
Ignoring Small Cracks
Small cracks can become larger pathways for water. Inspect and repair them before heavy rainfall.
Repainting Damp Walls
Paint does not remove the source of moisture. Allow the wall to dry and resolve the underlying problem first.
Blocking Ventilation
Keeping every window closed throughout the monsoon can increase indoor humidity and condensation.
Ignoring Roof Drainage
A waterproofed roof can still experience problems if rainwater cannot drain effectively.
Using Cheap Waterproofing Without Diagnosis
The cheapest product may not be appropriate for the specific moisture problem. Identify the cause before selecting a treatment.
When Should You Call a Professional?
Some moisture problems can be addressed through routine maintenance, but persistent or severe dampness deserves professional attention.
Consider seeking qualified help when:
- Dampness repeatedly returns after repairs.
- Large cracks appear.
- Water enters during every heavy rainfall.
- There is extensive mold growth.
- Plaster is deteriorating significantly.
- Dampness is affecting electrical areas.
- The source of moisture cannot be identified.
- Structural movement is suspected.
Professional assessment can help distinguish between surface moisture, plumbing leaks, roof leakage, condensation, and more serious building-related issues.
A Simple Pre-Monsoon Damp Wall Checklist
Before the rainy season becomes intense, walk through this checklist.
Exterior
- Inspect walls for cracks.
- Check exterior paint and coatings.
- Examine window seals.
- Inspect balcony edges.
- Check roof and parapets.
- Clean rainwater pipes.
Interior
- Look for old damp patches.
- Check ceilings.
- Inspect bathroom walls.
- Look behind large furniture.
- Test exhaust fans.
- Look for mold or musty smells.
Drainage
- Clear roof drains.
- Clear balcony drains.
- Check ground-level drainage.
- Ensure water flows away from walls.
- Remove leaves and debris from gutters.
A few hours of preventive maintenance can help avoid extensive repairs later.
How to Deal With Dampness After Heavy Rain
If you notice dampness after a storm, don’t just slap paint on it. First, check whether the moisture is still getting into the wall. If it’s still wet, then concentrate on stopping the source, not disguising the symptom. After the cause has been handled, give it enough time to dry properly. Try improving ventilation too, and keep an eye on the spot in case the wetness comes back. If stains keep showing up even after the wall looks dry, then dig deeper, because dampness might still be trapped inside the building fabric.
Why prevention wins over those repeated patch ups
Keep repainting damp walls and it can turn into a costly loop. The surface can look fine for a while , but if the leak underneath keeps going, the same issue tends to return later. With time, repeated moisture can affect plaster, surface layers, woodwork, furniture, and a bunch of other materials. Preventive maintenance is all about stopping water before it becomes an indoor headache. So it’s not only reasonable, it also tends to be a smarter financial move for home care.
Key Takeaways
- Inspect your home before heavy monsoon rainfall begins.
- Repair exterior cracks before they become water-entry points.
- Keep roof, balcony, and ground drains clear.
- Inspect windows and exterior doors for damaged seals.
- Check plumbing if dampness appears without rain.
- Maintain proper bathroom and balcony waterproofing.
- Improve ventilation to control indoor humidity.
- Keep furniture slightly away from vulnerable walls.
- Never simply paint over a damp surface.
- Address persistent or severe moisture problems professionally.
- Treat waterproofing as a complete system rather than relying on one product.
Conclusion
Stopping damp walls in monsoon season really begins with figuring out where the wetness is coming from , before it turns into something big and stubborn. Do routine checks on rooftops, terraces, exterior walls, windows, balconies, and also the plumbing lines and drainage systems, then keep indoor air moving with decent ventilation the whole rainy stretch. If you see cracks, blistering, peeling, or any kind of slow leak, fix them quickly , because waiting usually makes the problem spread. Use suitable waterproofing for at-risk areas, and don’t just cover a damp wall with fresh paint as if it’s a simple cosmetic thing , since the root cause still remains underneath. With steady monsoon home care, properly working drainage, and prompt repairs, most homeowners can lower moisture harm a lot and maintain interiors that feel healthier, look cleaner, and stay more comfortable during the rains.
Frequently Asked Questions
1. How can I prevent damp walls during monsoon?
Inspect exterior walls, roofs, windows, balconies, and drains before the rainy season. Repair cracks, improve drainage, maintain waterproofing, and ensure adequate indoor ventilation to reduce moisture problems.
2. Why do my walls become damp every rainy season?
Recurring dampness may result from exterior wall cracks, roof leakage, poor drainage, damaged waterproofing, plumbing problems, or ground moisture. Identifying the actual source is important before choosing a treatment.
3. Can I paint over a damp wall?
It is better not to. First identify and stop the moisture source, allow the wall to dry completely, repair damaged plaster, and then apply primer and suitable paint.
4. How can I stop mold from growing on walls during monsoon?
Reduce moisture by improving ventilation, repairing leaks, controlling indoor humidity, and allowing damp surfaces to dry. Persistent or extensive mold problems may require professional assessment.
5. When should I consider professional waterproofing?
Professional waterproofing may be appropriate when dampness repeatedly returns, water enters during heavy rain, roof or terrace leakage persists, or the source of moisture cannot be identified through routine inspection.












Leave a Reply